Everyone
 loves dessert, you're crazy if you don't! Most people think to make a good dessert, you need to go to the grocery store, buy all those expensive ingredients, pay for something very costly, and
then have to make it at your home. But what they don't know, that's soo far from the truth! You can very little, but make an amazing, delicious, dessert with no cost. How? In your own pantry of course!
& for those simple, easy make desserts for after a good meal, here are my easy but yet oh so yummy no bake cookie bars.
No-Bake Cookie Bars
Ingredients:
-1/2 stick of butter
-3/4 bag of mini marshmallows(if you want an extra sugar-not so high calorie yummy taste, try the coconut coated marshmellows. They're my favorite!)
- 4 cups of honey nut cherios
-1tps of vanilla extract
-2 cups of chocolate chips
-2tbsp of peanut butter
Directions:
1) First, you'll need a large Tupperware bowl & a spatula for mixing
2) take the 1/2 stick of butter, and the 3/4 bag of mini marshmallows in the large bowl
3)melt in microwave for 1 minute or until marshmallows are melted (
not liquid.. just
melted).
4) Take out of the microwave, and add 4cups of honey nut cherios to the mix
5)Don't mix quite yet! First, add 1tps of vanilla extract for that vanilla-yummy-scented-flavor
6)
Now mix! :) & make sure that
all of the ingredients in the bowl stick together without falling apart (the marshmallows should help with that. If they are not sticking, add more melted marshmallows to the mix) using the 'fold-in' method.
7)add 1 cup of chocolate chips to the mix and continue to mix
8)Now you'll need a glass baking/casserole dish that is measurements of 9x13
9)spread the mix in the bowl evenly throughout and make sure its packed
10)now take a medium sized bowl, and add remainder of chocolate chips in the bowl.
11) put in microwave for about 1 minute (or until chocolate chips melt)
12) when you take the bowl out of the microwave, stir it with the spatula so no chocolate chip clumps are in the mix
13) after mixing, add the amount of peanut butter in the chocolate chip bowl mix and stir until the two ingredients are morphed
14) pour the mix evenly across on top of the dessert in the pan. (if you run out, make some more peanut butter and chocolate chip mix.. Which would mean repeating additional steps #s 10-14)
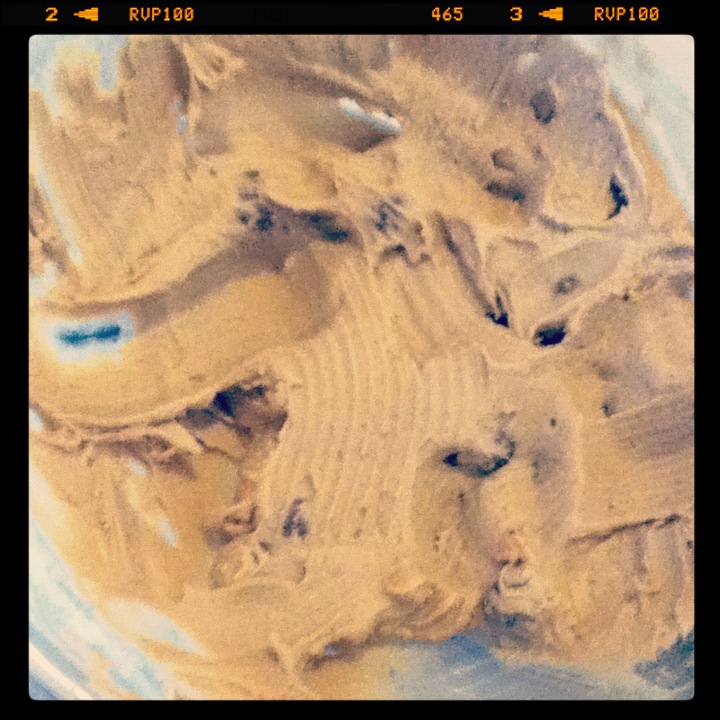
*This is how the chocolate chip/peanut butter mix should look like on the dessert in the glass dish and how it should be spread evenly through
15) when all done, let the dessert sit for about 1 hour so then it's ready to be served
16) enjoy!
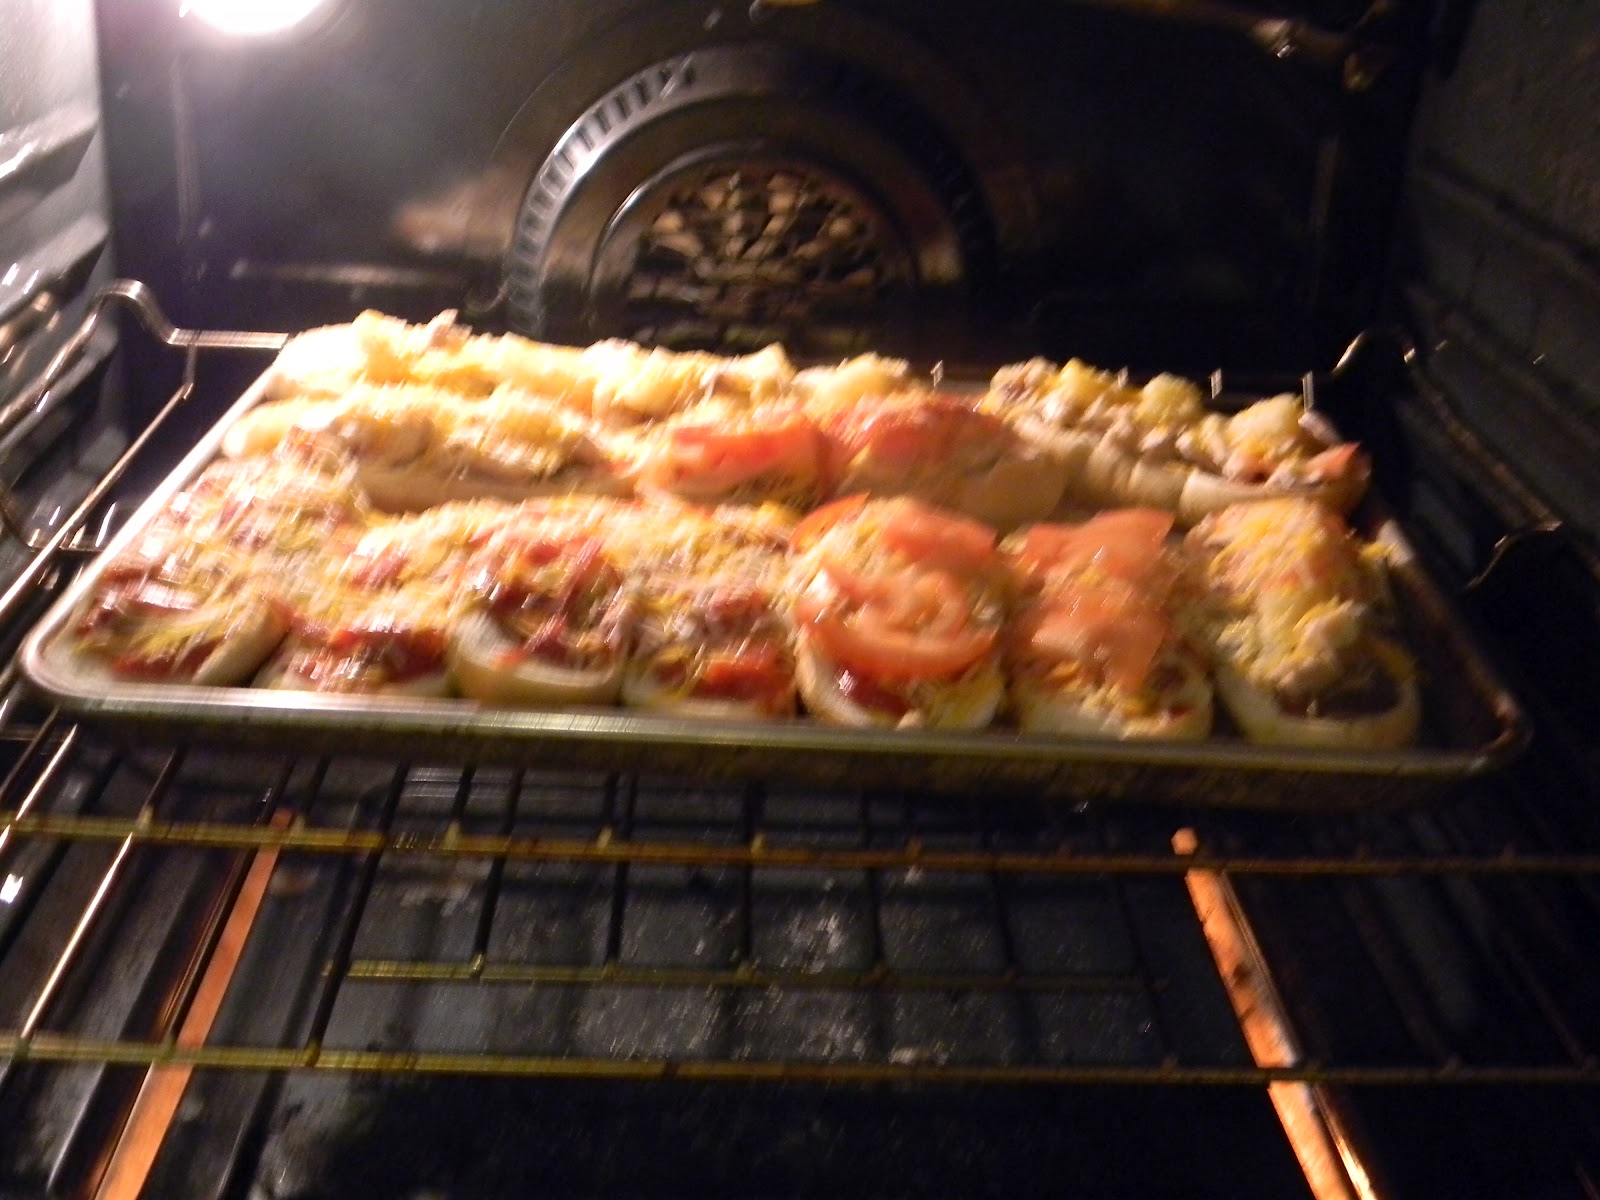
*Finished Product! :)